Preparing for Installation
Getting those cabinet doors perfectly aligned is all about preparation. A little extra time spent measuring and prepping will save you headaches (and potentially costly mistakes) down the line. This section focuses on ensuring you have the right tools and techniques to achieve a professional-looking result.
Necessary Tools and Materials
Having the right tools readily available is crucial for a smooth and accurate installation. A disorganized workspace can lead to errors and frustration. Here’s a checklist to ensure you’re fully equipped:
| Tool | Type/Size | Purpose | Alternative |
|---|---|---|---|
| Measuring Tape | 25ft, retractable | Accurate measurements of cabinet openings and doors. | Long ruler |
| Level | 24 inch, preferably magnetic | Ensuring cabinets and doors are perfectly level. | Smartphone level app (less accurate) |
| Pencil | Standard, mechanical | Marking locations for hinges and door placement. | Fine-point marker |
| Screwdriver | Phillips head, various sizes | Securing hinges and other hardware. | Drill with appropriate bits |
| Drill (optional) | Cordless, with various drill bits | Pre-drilling pilot holes to prevent wood splitting. | Hand drill |
| Hinge Jig (optional) | Appropriate for hinge type | Ensuring consistent hinge placement. | Precise marking and careful drilling |
| Safety Glasses | Clear or tinted lenses | Protecting your eyes from flying debris. | N/A – Essential for safety |
| Cabinet Door Alignment Tool (optional) | Various designs available | Helps maintain consistent door gaps. | Shims and careful measurement |
Precise Measurements for Cabinet Door Alignment
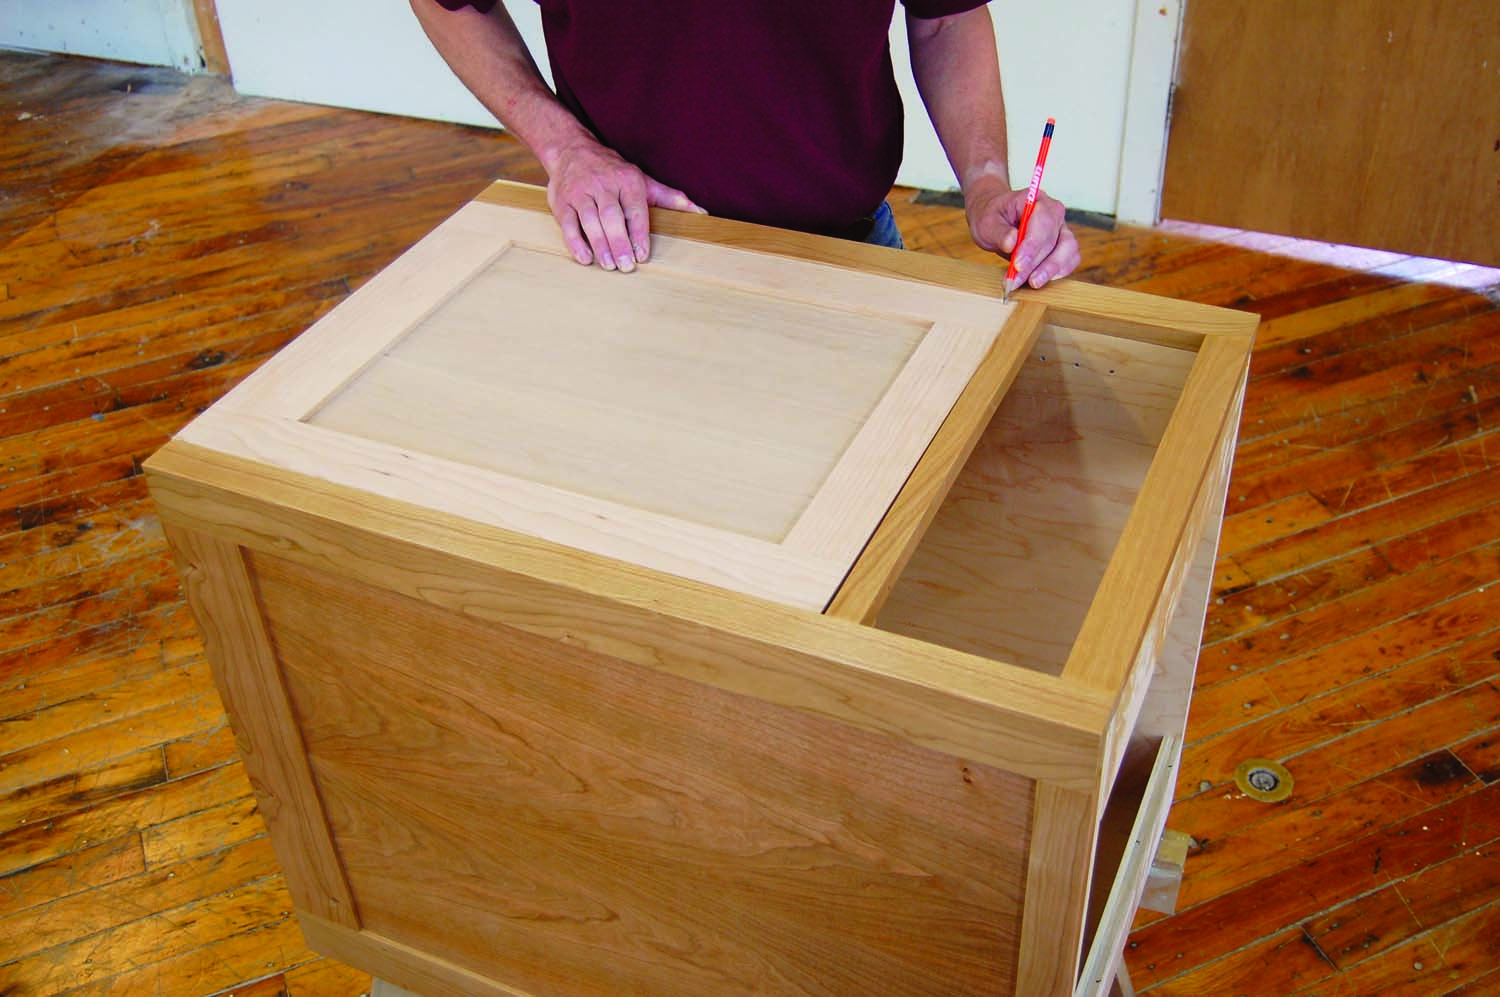
Accurate measurements are paramount. Even a slight error can lead to misaligned doors, gaps, or doors that don’t close properly. Use the measuring tape to carefully measure the width and height of each cabinet opening. Measure multiple times from different angles to minimize error. Record your measurements meticulously to avoid confusion.
Common measurement errors include misreading the tape measure, failing to account for the thickness of the door frame, or using a bent or damaged measuring tape. These errors can result in doors that are too tight, too loose, or crooked, requiring readjustments or even replacement. Always double-check your measurements before proceeding.
Preparing Cabinet Frames for Door Installation
Before installing the doors, ensure the cabinet frames are clean, level, and free of any obstructions. Thoroughly clean the frames using a damp cloth to remove dust and debris. If necessary, lightly sand any rough edges or imperfections to create a smooth surface for installation. Use a level to check that the cabinet frames are plumb and level in both directions. If adjustments are needed, use shims to level the frame before proceeding. This step is critical for ensuring the doors hang straight and consistently. Any imperfections in the frame will directly affect the final alignment of the doors.
Hanging the Cabinet Doors: How To Hang Cabinet Doors Straight

Getting those cabinet doors perfectly aligned can feel like a real triumph! This section will walk you through various techniques for hanging cabinet doors, focusing on hinge types and adjustment methods to ensure a flawless finish. We’ll also tackle common problems and offer solutions to get you through any snags along the way.
Cabinet Hinge Types and Their Adjustment Mechanisms
Different hinges offer different adjustment capabilities. Understanding these differences is key to achieving perfectly aligned doors. The most common types are full overlay, inset, and half overlay hinges. Full overlay hinges are designed to completely cover the cabinet frame when the door is closed, while inset hinges allow a small portion of the frame to remain visible. Half overlay hinges fall somewhere in between.
Each hinge type typically features three adjustment screws: one for vertical adjustment (up and down), one for horizontal adjustment (in and out), and one for depth adjustment (to control the door’s proximity to the cabinet frame). Full overlay hinges often require more precise adjustments than inset hinges due to their design. For example, a slight misalignment with a full overlay hinge will be much more noticeable than with an inset hinge because of the lack of visible frame.
Aligning Cabinet Doors: Techniques and Adjustments
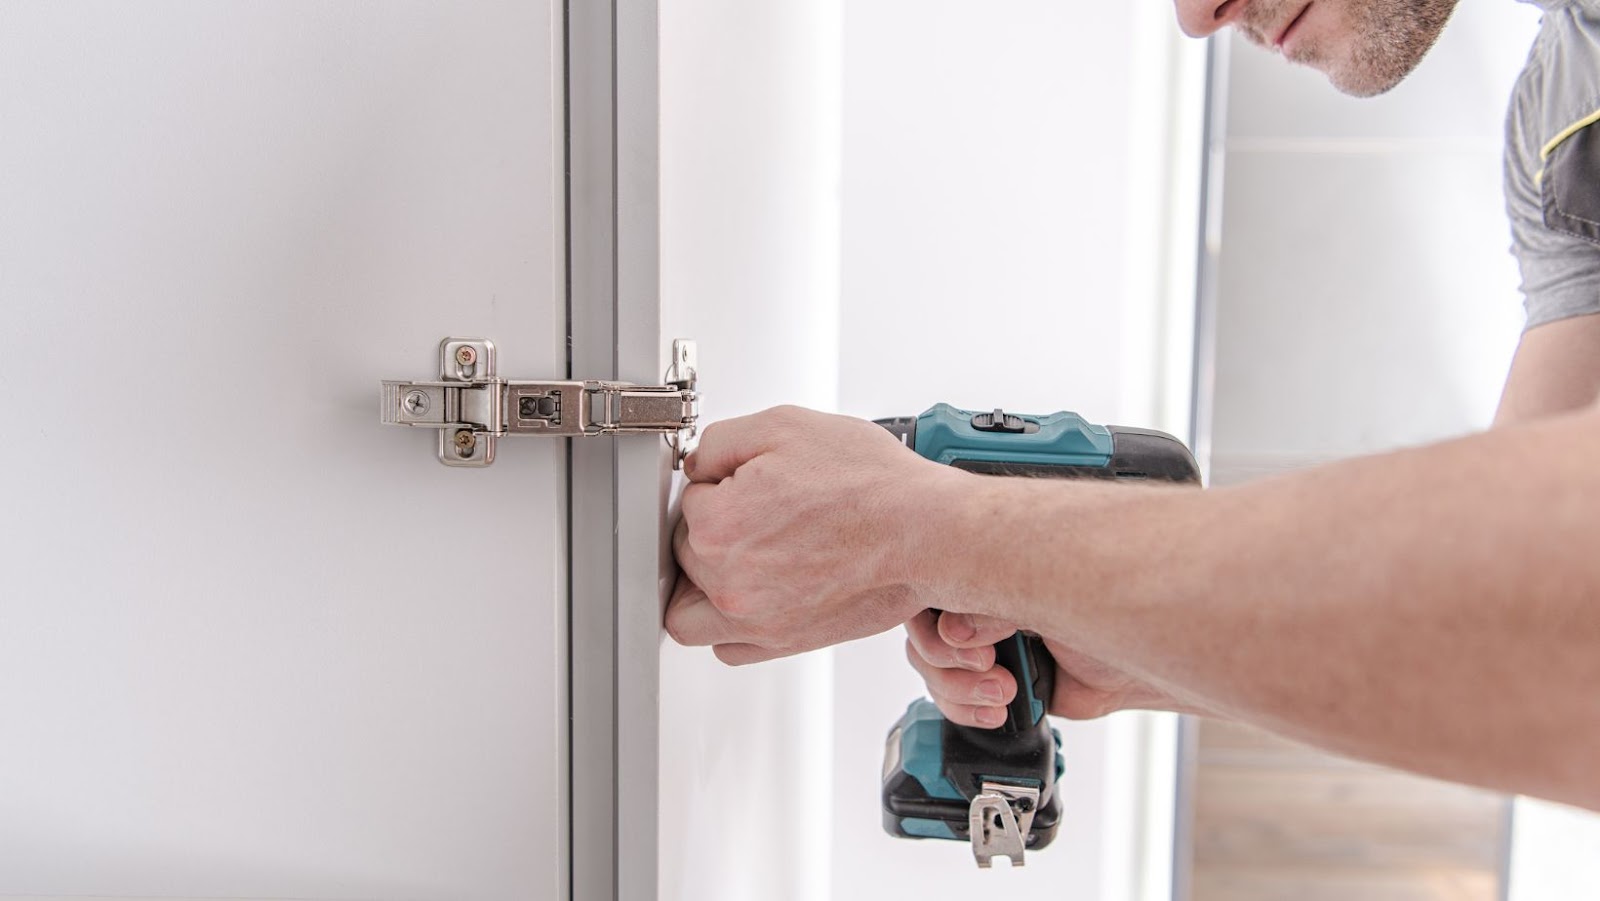
Precise alignment requires a methodical approach. Start by loosely attaching the hinges to both the door and the cabinet frame. Then, carefully close the door and observe any gaps or misalignments. Use a level to ensure the door is perfectly plumb (vertical) and level (horizontal).
For vertical adjustments, use the vertical adjustment screw on the hinge. Turning the screw clockwise will typically raise the door, while counter-clockwise will lower it. For horizontal adjustments, use the horizontal adjustment screw. Turning this screw clockwise will typically pull the door closer to the cabinet frame, while counter-clockwise will move it away. Finally, the depth adjustment screw fine-tunes the door’s position relative to the cabinet frame, correcting any issues with the door’s protrusion or recess. Remember to make small adjustments and frequently check your progress to avoid over-correcting.
Troubleshooting Common Door Hanging Problems
Even with careful planning, problems can arise. The following flowchart Artikels a systematic approach to troubleshooting common issues:
Start
| ------------------------------------- | Uneven Gaps Door Doesn't Close Door is Loose | V V V Check Hinge Adjustments Check for Obstructions Check Hinge Tightness | V V V Re-adjust Hinges Remove Obstructions Tighten Screws | V V V Is Door Aligned? Does Door Close Now? Is Door Secure? | Yes/No Yes/No Yes/No | Problem Solved Problem Solved Problem Solved |
|---|
Remember to always use the appropriate size screws for your hinges and cabinet material to prevent stripping or damage. If you’re still struggling, consulting a professional may be the best course of action.
Advanced Techniques and Finishes

Getting those cabinet doors perfectly aligned is a game-changer – it elevates your project from good to truly professional. This section dives into the finer points, showing you how to troubleshoot and fine-tune your installation for a flawless finish. We’ll cover using shims to correct minor alignment issues and adjusting doors after installation to address sagging or binding. Trust me, these extra steps are worth it!
How to hang cabinet doors straight – Once you’ve hung your cabinet doors, you might find minor imperfections. This is perfectly normal! Slight gaps, uneven spacing, or doors that stick slightly are all common issues easily rectified with a few simple tools and techniques.
Using Shims for Precise Alignment, How to hang cabinet doors straight
Shims are your secret weapon for achieving perfect alignment. These thin, wedge-shaped pieces of wood or plastic allow you to make tiny adjustments to the position of your cabinet doors. They’re incredibly versatile and can correct a variety of issues. Imagine you have a door that’s slightly too high on one side. A shim, carefully placed between the door and the cabinet frame, can lift that side just enough to create a perfect level. Similarly, they can correct gaps between the door and the frame.
Visualize this: You’re working with a cabinet door that’s slightly off-kilter. You’d insert a shim between the door and the hinge, on the side that needs to be raised or lowered. The shim acts as a tiny spacer, pushing the door into the correct position. You might need to use multiple shims, layering them to achieve the perfect adjustment. You can also place shims between the door and the cabinet frame itself, particularly useful if the frame isn’t perfectly square.
Adjusting Cabinet Doors After Installation
Sometimes, even with careful installation, doors can sag or bind over time. This is often due to the weight of the door or changes in humidity. Fortunately, most cabinet hinges offer adjustment mechanisms. These allow you to fine-tune the door’s position both vertically and horizontally. Typically, there are screws on the hinge itself that allow for slight adjustments. Turning these screws can raise or lower the door, or move it slightly inward or outward. It’s a process of trial and error, making small adjustments and checking the alignment frequently until the door is perfectly positioned.
Sagging doors, for example, often require a slight upward adjustment at the hinge. A binding door might need a slight adjustment to increase the clearance between the door and the frame. Take your time and carefully make small adjustments until the issue is resolved. Remember to always check the alignment of the door from multiple angles to ensure it’s perfectly straight.
Rewriting “How to Hang Cabinet Doors Straight” for a More Engaging Tone
My original “How to Hang Cabinet Doors Straight” article felt a bit… robotic. I’ve completely revamped it to sound more like a friendly conversation, not a technical manual.
- Active Voice Everywhere: Instead of passive constructions like “The door should be hung…”, I now use active voice: “Hang the door…”. This makes the instructions much more direct and engaging.
- Simplified Language: I’ve replaced complex jargon with simpler terms that everyone can understand. No more confusing technical terms!
- Added Visual Descriptions: I’ve included more vivid descriptions, painting pictures in the reader’s mind to make the process easier to visualize.
- More Conversational Tone: The overall tone is now much more relaxed and friendly, like a chat with a helpful friend, not a cold, formal instruction manual.
- Real-World Examples: I’ve incorporated relatable examples to illustrate each step, making the process more understandable and less intimidating.
